Search This Blog

Thursday, March 26, 2015

Review Makedo Toolkit starter

I consider myself to be a pretty crafty person. So, of course, I want my kids to be crafty and creative too. Learning to use tools so they can build, fix, and create are skills that will be able to use for the rest of their lives. So when I learned about Makedo kits, I knew we needed to get some. I loved the concept of these reusable cardboard building tools.

Like many kids, my kids have way too many toys. I've really been drawn to "consumable" or activity toys lately. So many of the toys we collect just end up broken, missing parts, or soon discarded whey they get tired of them. My daughter is only two and already has more stuffed animals and dolls than she needs, but we could always use more paper, paint, and play-dough. With this kit and some boxes it was like giving the kids a huge toy and when they are tired of it we can just take it apart make something new.

After doing a little research I found two basic options: There were several smaller structured kits or a huge free play classroom set. Neither of these are what I was hoping for, but I learned at www.mymakedo.com they had an individual starter kit coming soon so I watched and waited. When they were available I ordered a few and put them up for a rainy day. One weekend, after collecting a few large boxes I decided to break a kit out.


Here is what's in the kit:
1 "Srudriver" ( Makedo's version of a screwdriver)
25 "Scruds" (Reusable screws)
1 Saw with a whole punch for make starting hole for the "scruds"
3 "Straps" that can be used as hinges or to reinforce areas

The tools are fairly simple and straight forward. From what I have seen both the Scruds and the Straps are a redesign from previous versions that didn't hold up as well.

I wish I'd taken pictures of the boxes before they started. The kids (nine and two) were first given the boxes and markers with no tools. They immediately started coloring them and climbing in and out. After a while the little man started describing a tank he wanted to build and requesting scissors to cut his box. I grabbed the kit, gave him a brief demo and left him to it.

He began cutting, punching holes, and assembling. The toughest part seemed to be the sawing. I did step in and help a little, more to show him technique for using the saw blade as he was doing more pressing/ripping than sawing. He designed and assembled all on his own. The only part that didn't work as planned was making the gun able to turn, but that was more due to a flimsy box than anything.

Punching holes is another part that could be a little tricky for little kids. Building with smaller/thinner boxes should be fairly easy, but these boxes were a bit thick. In my demo I emphasized the importance of not having his hand under the punch and he never had a problem. I think it would be unlikely to cause injury, but I suppose it's possible.


He used the straps to hold the box flaps closed and to attach his hatch so it would be hinged to open and close.

He ended up using 24 of the 25 Scruds for his tank. Looking over it, I think he could have used a few less if they were placed a little more efficiently, but it obviously worked out fine. 


This took playing with boxes from an hour long activity to an all day activity. The planning, building, decorating and finally playing with the finished product entertained them for most of the day and on and off for the next few days as well. We will eventually have to disassemble the tank, but for now it's holding up great after days of playing. We have has zero issues with the Makedo parts breaking or not functioning as intended.

When I recently looked into ordering more kits, it looks as though they are currently sold out of their "make anything kits", but still have several guided kits to choose from. Hopefully they will be restocking soon! There are still plenty of the old versions available. Just be aware of the differences. The older kits have black hinges and the Sruds are two pieces that clip together. These kits might not hold up as well as the new versions, but if you can't wait to start building, you might want to give them a try! Makedo Kits


Thursday, March 12, 2015

Silhoutte Cameo and Shrink Film Name Charm

For those of you looking to cut shrink film or Shrink Dinks on your Silhouette Cameo, here's the short version. I used the "material" setting. When it's done DO NOT unload, and hit start again to repeat the exact same cut. Now, if you'd like more details or more specific information on this project and materials, read on!
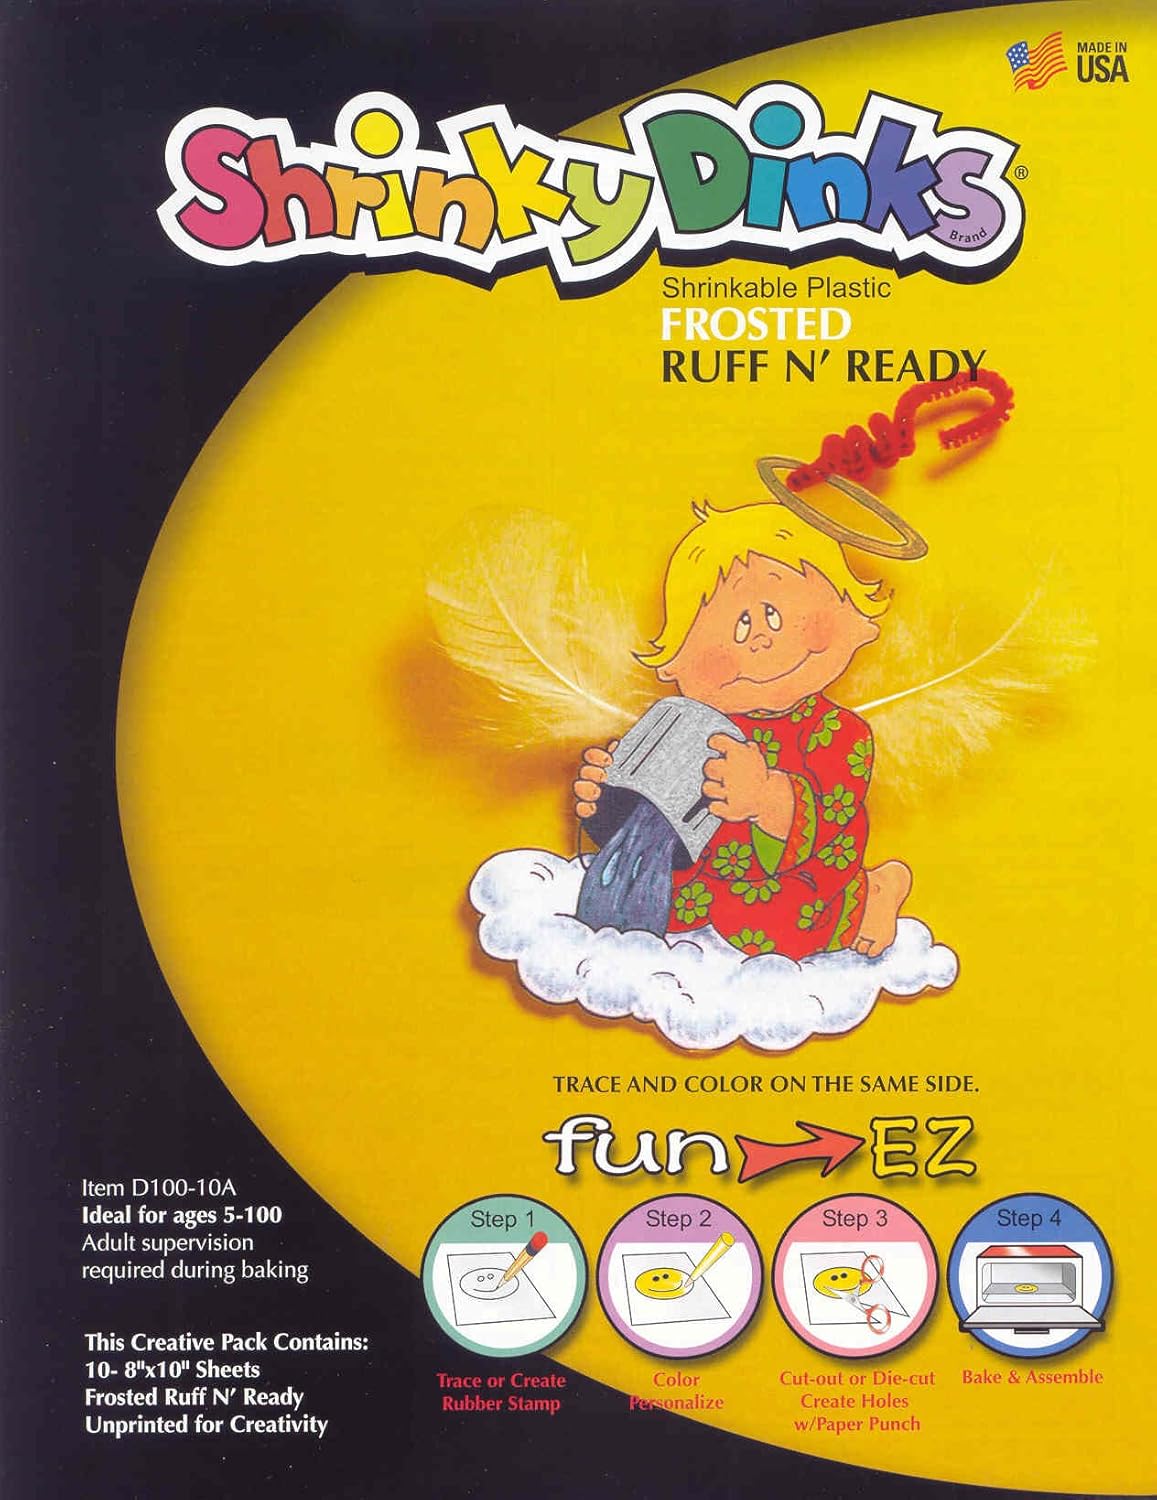
To start, I don't have a link to the exact shrink film I used for this tutorial. I will note that the white shrink film I just ordered for this DID NOT work! Booo! It was a great price on Amazon, but apparently it is slightly thicker. I used frosted shrink film that I already had on hand. I know I ordered from an assortment pack that included white, frosted, and clear. I haven't used the clear much because I wanted an opaque finish. I'm going to be testing out a few others including the printable shrink film soon, so I'll update you when I'm done. For now, my best guess would be this one:
Frosted Shrinky Dinks However, it's not available through prime right now. Bummer. Another one to try is this one:
Sanded Shrink Film It's sanded and would give you a lot options when it comes to decorating your creations IF it cuts cleanly.


For now, on to the process I used to make this name charm. First you simply need to type your name into Silhouette Studio and select a font. A picked a cute little script called "A Gentle Touch". It's not too wide so it was going to be easier to fill in the letters which is what I wanted.
Keep in mind using the "sketch" settings doesn't color things in. It only follows lines just like a cut setting would. So to make this solid I used a narrow font and added an internal offset.

  This just added a few extra lines in the middle of my letters for the marker to trace over. I could have filled it in by hand too. Next I added a small circle. This is going to be the loop used to hang the charm on a necklace. I made a circle and adjusted it to .25" and lined it up where it was near my name, but not touching it.


Next I selected the name and the circle and added an offset. Make sure you don't select any lines you have in the middle or will try to offset all of those too. You just want the original name outline. I did a narrow offset of .075 and when I applied it, it seemed to automatically weld the ring to the rest of the name.


 Now I'm reading to start working with my Cameo. First I want to make the marks with my sharpie. (Here's a great deal on some sharpies. You get 24 for just over $10! I LOVE sharpies.) This is a Silhouette pen holder. I know there are a lot of hacks out there and other things that work, but for $10 I thought this would save me a lot of time and effort. I did find one red sharpie weirdly didn't fit. It was just slightly too big, but so far all my others have fit fine using the large pin holder. I honestly think this one was pressed out just a little too far. It made a pretty thick line, but with an ultra fine pint sharpie you can get incredible details with this. Silhouette pen holder

Once your marker is loaded you want to turn off all the lines except your letters. I just clicked on the offset line and my loop then selected "No Cut". Then select your sketch pen setting. I had a little smearing on the white shrink paper, so I'd make sure to keep your speed to 1 to allow the most drying time possible.

***Here's the most important part: From this point on DO NOT UNLOAD! You will never get it loaded back in exactly the same. If anything moves around it's not going to work. After you draw your name you need to take out the marker and put your blade back in on the 10 setting. DO NOT UNLOAD.

Once you've got your blade in you want to select the parts to cut. I wanted to basically only cut the exterior out line and the center of my loop. I wish I can cut a little detail out the loop of my "l" and "y", but it looks fine with out it.


 For your cut settings, I just selected "material". This is basically the highest cut settings. Blade 10, Speed 1, Depth 33, double cut.
When it's done DO NOT UNLOAD. This part is the key and super easy, just hit "start" again and do the exact same cut. So you're basically doing a quadruple cut. Obviously if anything moves your risk your cuts not lining up with each other or the original drawing.

Now, you can finally unload. :) It was totally worth the wait. It should pop out fairly easily. If anything hangs up a little just use an exact knife to trim it off. Now place it in a preheated 350 degree oven.  Mine went a little crazy. Don't panic! This is why it's often suggested you lay wax paper over your design, but this one came out fine. I just used a knife to straighten it out a little before pulling it out.
Ta-dah!
All Done! Now your charm is half the size and much thicker. Here are a few others things I've make with shrink paper. Have fun!


Update: I'm sad to say the Ink Jet Shrink Film did NOT cut in the Cameo. I attempted to cut two little bats using my PixScan mat. While the PixScan worked wonderfully, cutting one nearly perfect and one with an offset, it just couldn't cut all the way through despite multiple cuts. It did score it nicely so if I had something I really wanted to print and cut I could use this as a starting point and finish the job with an x-acto knife. 


Thursday, August 15, 2013

Peacock Party Extravaganza


Birthday Girl in her hand made  peacock dress and birthday tiara. A special "thanks" goes to my dear friend Yolanda, who also made my wedding dress and  a maternity Christmas dress for me. She is so talented!

I really wanted to avoid having lots of highly processed sugary junk food. The fruit peacocks were perfect and pretty easy to make. Red and green grapes, kiwi, blue berries, a pear, and bit of carrot for the beak. I also put out some popcorn and trail mix in muffin cups on a cupcake stand.


 If you looked at the bug party I did previously, a lot of this is left over from that party. I added a teal fabric tablecloth and of course flowers and feathers to make everything more girly. I ordered flowers from Blossom Supplies and feathers from Lamplight Feathers.


  I looked long and hard for top hats. I didn't want super cheap shiny plastic ones, but I wasn't going to pay a fortune either. Finally found some at Oriental Trading. I added the ribbons and feathers.


I had beautiful old teal blue mason jars from our wedding. I added peacock feathers and "swords", baby's breath, and a ribbon.


 Favor Table
I kept the favors simple with top hats or tiaras, embellished "1" balloons, and jewel toned kazoos. I highly recommend kazoos in place of any other noise maker.
 Rosalyn's Smash Cake
I made this little ombre cake with very little sugar for the birthday girl. I used some natural food dyes and dyed the cakes and the whipped cream for the icing.

 You can also get a better look at her tiara. I used a piece of painted lace with FOE around the bottom for the band. The roses I made from the same ribbon I used on other decorations. I added a rhinestone "1" (also from blossom supply), a little puff of tulle, and, of course, a peacock feather.
I happened across a stroller insert that I stuck in her highchair for so it was teal and added lots of tulle and more feathers.


Friday, July 13, 2012

Bug birthday at the Lake


Following a trip to an outlet mall I came home with a rather adorable caterpillar cake pan. I knew I could talk a certain soon-to-be five year old into loving the idea of a bug party. My favorite thing about this theme was the freedom it gave me. I could really use whatever colors I wanted and didn't have to pay up for anything with a licensed characters.

I used the cake pan twice simply leaving out the head the second time so I would have an extra long caterpillar. The icing was a bit tedious due to all the outlining, but it was worth it.

A little plastic wheelbarrow was the perfect container for the dirt and worms, of course served with a shovel. We found an assortment of bug candy to live in our dirt.


The birthday boy with his party favors: Mini sand buckets with a punch balloon, flashlight, water toy, a few plastic bugs and a magnifying glass.
And of course something feminine for our only girl guest.

I may have slightly overestimated the amount of cake needed, but cake is cheap and it looked really cute.

The Not So White Couch

This was my couch. I know it wasn't the best idea to buy an off-white sofa for the main room in the house, but it was the exact size I wanted and for the price I couldn't pass it up. I actually got two sofas from a local online auction, and they were a steal!
It wasn't long before the combination of my human and canine children had it looking pretty dingy, but I wasn't ready to give up on it. I started researching. At first I wanted to slipcover it, but I quickly realized that the only cover was going to have to be custom made and that would cost a fortune. Next I thought, "I could make a slipcover..." and then I came back down to Earth. I do have a sewing machine which I use from time to time, but this was a bit out of my abilities.
Before and After- Spray painted pillow

Too bad this couch isn't brown or something that wouldn't show stains and spots so easily. In comes google. I began googling everything I could think of to change the color of a couch. I came across fabric spray paint. Yep, you can spray paint fabric. Although after my test I don't recommend it. I'm sure this is great for some applications, but it just wasn't for me. First It was really difficult to get even coverage. There is a lot of waste if you do it right, and this stuff wasn't cheap. It left the fabric slightly stiff and with the texture of these pillows this just wasn't working. I calculated that it would cost over $200 to spray the whole couch and I wasn't willing to spend that on something that might not work.


So I bit the bullet and decided to dye all the cushions. I used RIT dye from the grocery store. I unzipped the seats and ripped the seams of the backs. I stuffed half of them in the washing machine and poured in the dye. This would have been much easier my old top loader and not my fancy high efficiency front loader. I ended up adding the dye mid cycle using the detergent dispenser. In hindsight I could have used the bleach part to automatically add it later. Despite the possibility of lingering brown dye appearing on my clothes I've had no problems.
I had to dye them in two batches and I was a little concerned the color would be different, but it actually came out pretty well. 

I obviously couldn't dye the entire couch so I ended up with a two-tone look. I didn't mind it and the bottom and arms were still in pretty good shape anyway. I read about painting fabric which would give it a leather like finish, but decided to hold off on that until I got really desperate. 

UPDATE: So this actually held up pretty well. I recently redyed it just to freshen it up since I had washed the covers and they started to fade. However the fabric on this couch isn't very tough. It was constantly getting little pulls all over. I finally broke down and went hunting for a couch cover. I ended up finding two sofa covers that were only $30 each! I did a lot of tucking and it doesn't look too bad. While it's not easy to get it on it stay in place well and is super easy to pull off when your toddler picks up your glass of wine and dumps it on the seat.
All in all, if you've got a tough fabric I'd say this is great route to revamp your couch on the cheap!